Minor Mold Damage DIY Guide
The following tips or recommendations represent a brief summary of the different steps taken during a mold remediation process. This material has been prepared to help you minimize or eliminate any future problems related to minor mold growth or mold damage in your house.
First we need to define what “minor mold damage” could be. EPA has a very clear definition of what a small mold damage is, they also include a detailed list of steps you can take when cleaning it. Below, we will include those steps and a couple of ours which we believe are very important when dealing with mold. Our Mold Remediation Service page includes a lot more information about mold in case you want to gain more knowledge on this very important topic.
The initial inspection:
This is a very important step during any mold remediation, it is here where you determined what can be causing the mold, how extensive it is and the proper way to eliminate it without compromising the health of the occupants.

You must know if you or your family have sensitivity to mold and to what extent. For some people, being around even small amounts of mold could be sufficient enough for a serious allergy reaction and for those with a compromised immune system could be very dangerous.
An important fact to remember is that we are dealing with microscopic beings, if we are able to see them is because there are thousands of them concentrated in a small area. So, take as many precautions as possible when manipulating them. A lot of those microscopic beings will be air borne for a long period of time before they settle down.
Personal advice:
If any elderly, new born or person with a compromised immune system live in the house, it is better to hire a professional. Give us a call, we will inspect it and advise you on how to safely remove it.
THE PROCESS:
Based on EPA’s publication “A Brief Guide to Mold, Moisture and Your Home” if the affected area is less than 10 square feet you could handle it yourself with the recommendations below, but before you do answer the following questions:
- What caused the mold? what is the source of moisture or water? Remember “The key to Mold Controls is Moisture Control”, so it is imperative you find the source of water and fix it, otherwise mold will re-grow. You can do this after the mold cleanup.
- Is someone allergic to mold? Any respiratory disease?
- Do you know exactly how extensive the damage is?
- Is there any hazard or risk around affected areas? (like an electrical outlet)
- Are the wet materials salvageable?
- Do you have the tools or equipment needed to perform the mold remediation.
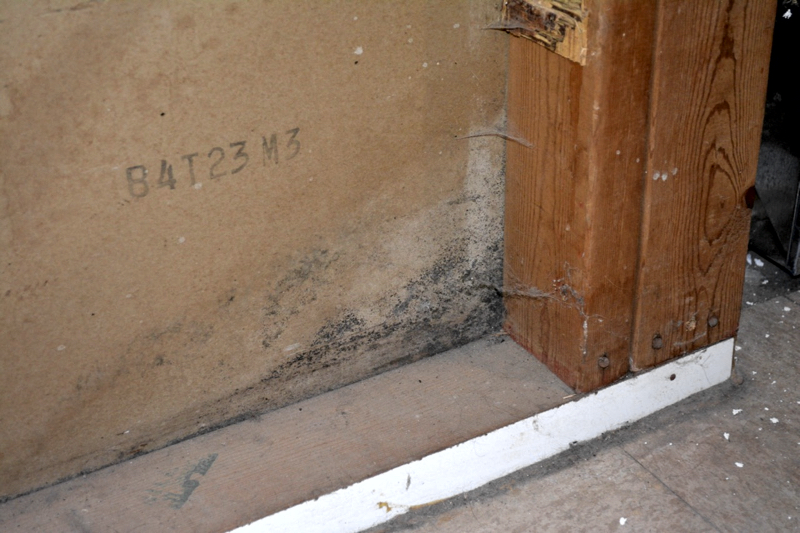
A good example: A corner of the wall in the basement area is showing some black, green and yellow stains witch you suspect is mold. There is a downspout outside that is not draining away and water is seeping through the foundation. You have ceramic tile in that room, the only damage is to the drywall and baseboards.
- Source of water ? = foundation seepage
- Are you allergic to mold? = no
- How extensive the damage is? = about 10 s/f of Drywall, baseboard (trim)
- Any hazard or Risk? = No
- Can the wet materials be salvaged? = no
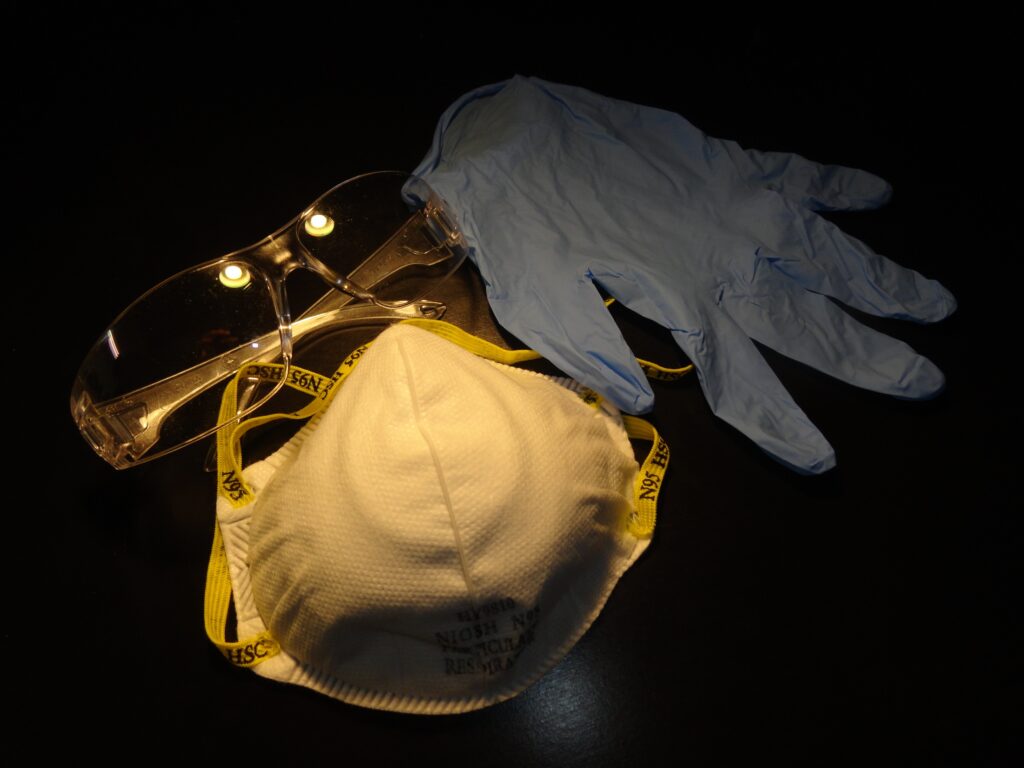
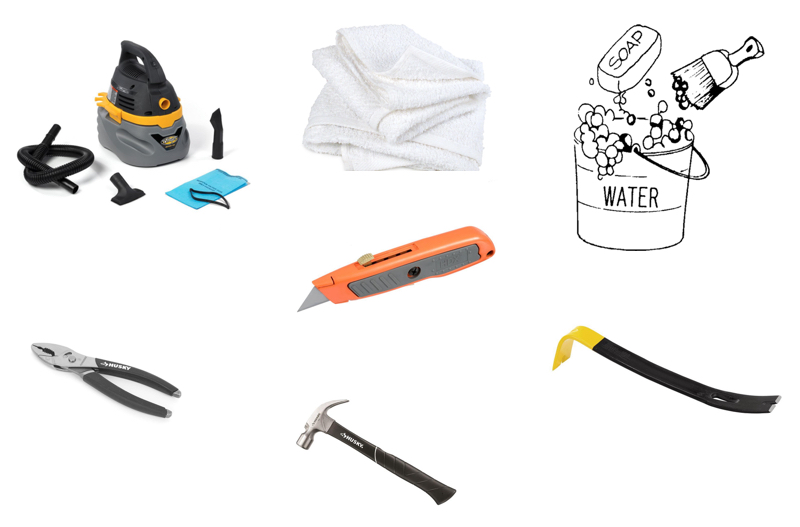
- Tools needed? =*Minimum PPE (Personal protective equipment), a HEPA vacuum, wet vac or just rags or towels, carpet or utility knife, pry bar, pliers, hammer, soap and water, a piece of plastic and plastic bags
*Minimum PPE=N95 paper dust mask, gloves and goggles.


WHAT TO DO NOW ?
- Put on the PPE
- Remove any excess water from the floor using the wet back or towels.
- Remove the baseboard and put it inside a plastic bag.
- Cover the moldy area with plastic. This will minimize the mold spores becoming air borne while removing the drywall.
- Cut the drywall 1 or 2 feet away from around the affected area and bag it. A lot of times, what is behind the walls is
bigger than what is visible at the front. - Remove and bag insulation.
- Remove any nails, screws or debris.
- Discard all affected materials.
- Vacuum the area with the wet vac.
- Using soap water and a towel, wipe down the wall, wall frame and floor.
- Remove any excess water using the wet vac and towels.
- Apply any antimicrobial if available.
- Let it dry. It may take several days. If you own a portable dehumidifier, set it up near the affected area (placing fans is not
recommended when doing a mold remediation). This will help to accelerate the drying process. - If possible, you could use a mold resistant primer to seal the area. (Not required on all cases)
- Congratulations! you just did a mold damage cleanup.
Possible complications:
What you see may be just a small part of a really big problem behind. If you find a problem too big to handle yourself, just cover it with plastic and let a professional mold removal company help you.
If you have any question, please give us a call (703) 986-3434. We will be happy to assist you. We offer FREE water damage inspections during business hours and a small fee for mold damage inspections.
Contact us for a cost estimate
Cities We Serve
An small fee for a Mold Damage Inspections. Includes a written report about our findings and recommendations. Also includes a detail mold remediation estimate and cleaning protocol based on IICRC standards and guidelines.
